For our cabin, we decided to build a fairly large deck so that we’d have plenty of room to enjoy the view of the lake. In total, we had about 1000 sq ft of deck to construct. The front deck was built 12 ft wide and the covered side deck was 10 ft wide. We decided to go with Trex for the durability and long-term maintenance. The first step however was installing the deck footings.
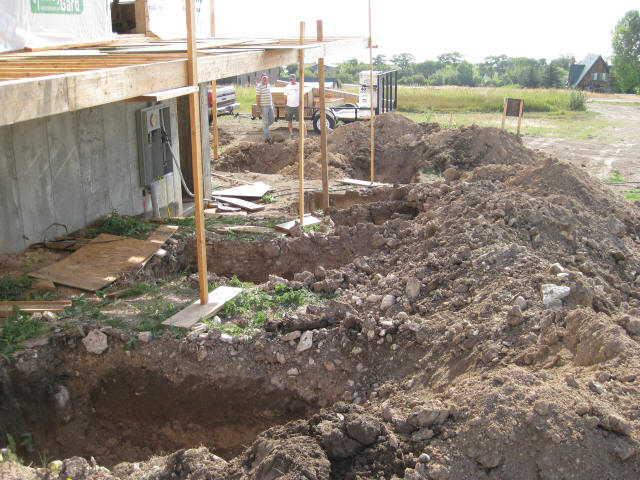
We hired a backhoe to come dig our deck footings. Top of footings needed to be 24″ below the final grade for frost protection. Make sure you’re careful around those utility lines..especially the electrical conduit because it’s not very deep. You’ll notice we had already constructed the floor of the deck and temporarily supported it with 2x4s. The neighbors were worried this was permanent and quickly came over to see if we were really going to support our deck like that. The floor of the deck was framed with hangers and 2x8s. We used some Glu-Lams for the front part of the deck where we had to span further across the garage areas.

Whoops….forgot about that damn foundation drain pipe!
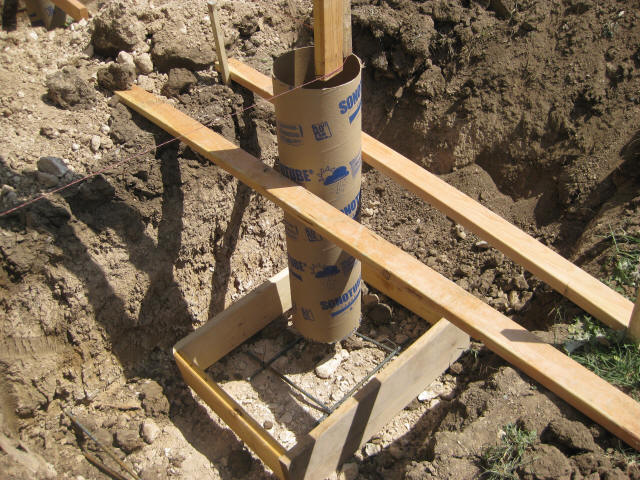
The next step to installing the deck footings is the concrete forms. We formed the footings out of 2x8s and sonotubes. Rebar was installed at the base of the footing and a couple lengths were inserted in the cylindrical portion when we poured the concrete in.
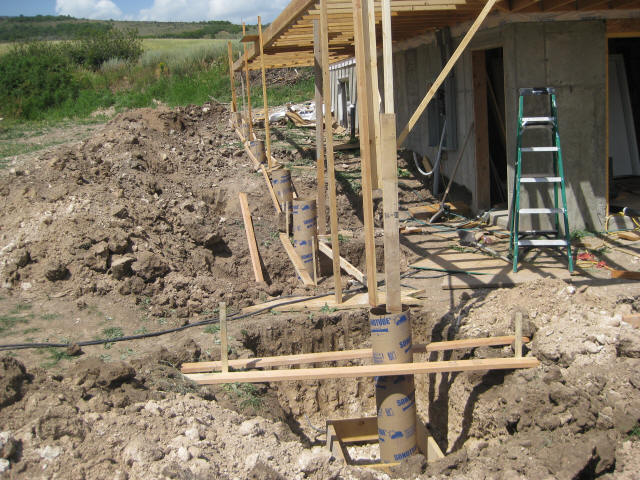
Footings for the side deck.
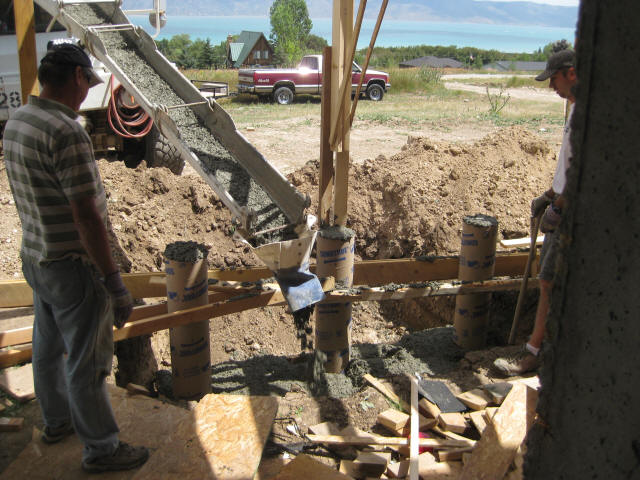
We poured all the sonotubes full and had some extra concrete to dump in the base of a few of them.
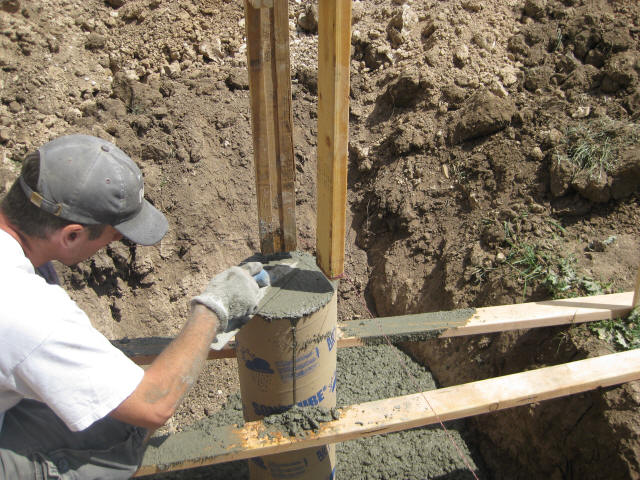
Once the concrete started to set up, we smoothed the footings off and inserted a bolt that would hold the future posts on the footing. The link below takes you to the installation of our Trex deck. That concludes the installation of our deck footings.